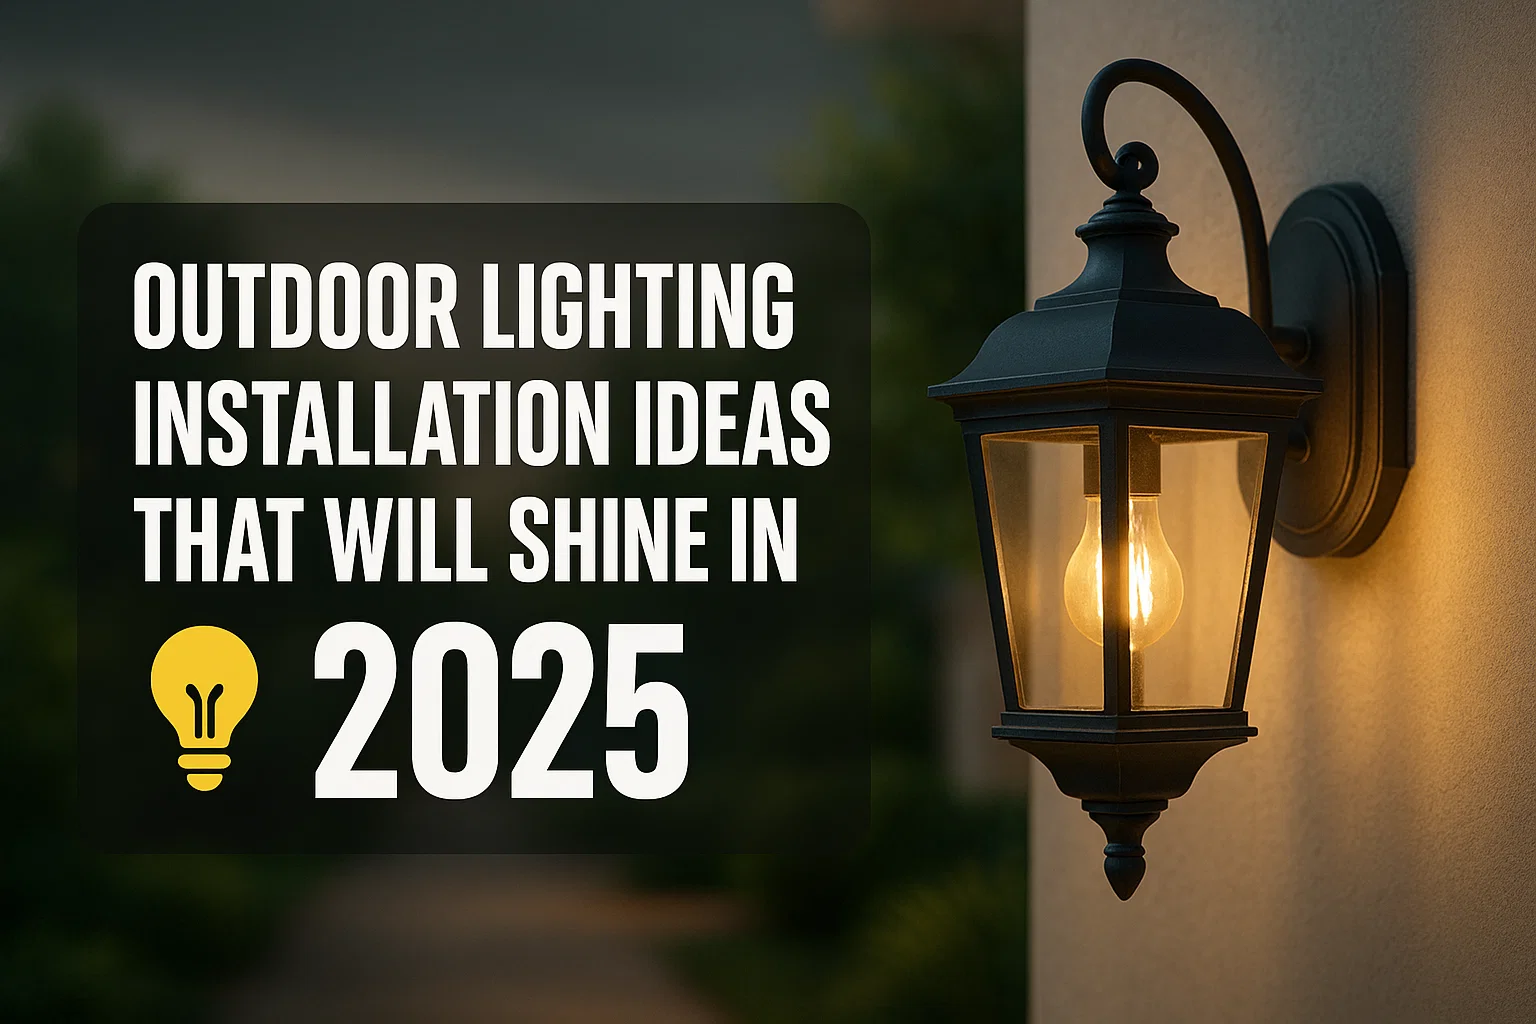
Outdoor lighting is a kind of art that is not only based on functionality, but also aims to provide an excellent setting to your outdoors, which is very pleasant to the eyes. In the process of 2025, we can see that lighting outside the house is becoming increasingly smart, powered by more-efficient electric sources and adapted to the needs of specific lifestyles. You can add more light to your garden walk paths, illuminate your buildings, or set a mood around your home, entertaining places; the possibilities are endless.
This comprehensive guide will cover trendy designs, installation procedure, required ideas in different areas, expert tips, purchase parameters and pricing, advantages, and a sneak preview of the future outlook of outdoor lighting. Let’s illuminate your outdoor world with style and efficiency.
Popular Trends in Outdoor Lighting for 2025
Technology is changing and outdoor lights are becoming efficient, fashionable, and smart. These are the major trends:
- Smart Lighting Systems
- Lighting systems with voice controls that are integrated with smart home hubs.
- Smartphone remote control and schedules or sensor automation.
- Incorporation of security cameras and alarm systems to have a greater sense of security.
- Solar-Powered Lights
- Better solar panel technology leads to more lasting and brighter lights.
- Ideas for those who are environmentally conscious due to a need to cut down on energy consumption.
- Designs that include string lights to path markers.
- Warm LED Lighting
- Warm, soft lighting (2700K to 3000K) that can produce an intimate atmosphere.
- LEDs that are energy efficient, that save on power.
- Based on a longer life span compared with conventional bulbs
- Layered Lighting Designs
- Having a mix of ambient, task, and accent lighting provides depth and dimension.
- The application of uplighting in the trees and architectural parts.
- Path lights for safety and decorative fixtures for ambiance.
- Minimalist and Sleek Fixtures
- Contemporary aesthetics with smooth lines and non-protruding profiles.
- Matte finishing in black, bronze, or brushed metals.
- Fixtures that could look like a part of the natural landscape.
- Color-Changing and Dynamic Lights
- RGB LEDs that permit programming of shades to fit into celebrations or festivals.
- LEDs that dim in accordance with the time of day/other events.
- Integration with smart devices to have easy control of colors.
Step-by-Step Guide to Landscape Lighting Installation
If you’re planning to install landscape lighting by yourself or want to understand the process before hiring a pro, here’s a clear step-by-step guide:
Step 1: Plan Your Lighting Layout
Planning your lighting layout before you commence any installation is a must. Start by doing a night walk on your property to know the areas that you want to liven up or light. This may consist of trees, pathways, garden fixtures and details on your house. It is good at this point of planning to determine what you want your lighting to achieve, because it could be to enhance safety, or have better aesthetics in your location or develop an outdoor space where you can entertain. When choosing these priorities, sit down and do a rough sketch of your property, indicating where on your property you would like to have your lighting fixtures. This diagram will be used to navigate the whole process of installation and will enable you not to miss essential locations.
Step 2: Choose Your Lighting Fixtures
Once you have a clear plan in place the next thing you need to do is select the proper lights that are being used in the project. Your chosen fixture will be largely dependent on your electrical installation and your preferred effect. LED lights are also a good option because they are energy efficient and have a long life, and solar-powered lights are eco-friendly and do not require wiring. It is a good idea to choose among various combinations of fixtures, such as spotlights around the highlights and path lights along the walks or sconces to create a pretty entrance. Consider, as well, color temperature, which influences the warmth or coolness of the light, and lumen output, which is the light brightness. These options will assist you in tailoring the atmosphere and the functionality of your external lights.
Step 3: Gather Tools and Materials
Ensure all the tools and materials are there before proceeding with practice. The basic tools should consist of such items as wire cutters, pliers and a drill. A shovel will also help in case you might need to bury some wiring underground in your project. You will do well to acquire the low-voltage lighting cables or parts in case you are installing the wired system, and solar lighting kits in case you prefer to install the wireless one. Make sure you do not leave out timers and transformers on low-voltage applications, which allow you to regulate and automate your system of lighting. Connectors and other accessories will also be required, depending on the type of fixtures that you decide to use. When you have everything in place prior to beginning the business, it will go more easily and quickly.
Step 4: Install Electrical Components
Having the tools and materials ready, work proceeds to fix the electrical elements. Safety comes first in this context, and never work with the power on to avoid shock or disaster that might follow. Follow with your layout design until you wire your lighting fixtures. Connect the lights to the low-voltage transformer in case you have a wired system, or place and connect solar elements correctly in case of solar-powered lights. Correct connections with the manufacturer’s guidelines will support your lighting system to have safe and effective performance.
Step 5: Position and Secure Lights
After wiring is finished, it is time to install and fix your lights. Install each fixture following the instructions of the manufacturer to ensure that it can withstand the outside weather. Set spotlights or accent lights to have the perfect aims to highlight trees, shrubs, or architectural features. To be safe in practice, be certain of the illumination of the path lights, which are to be evenly positioned and visible enough to identify the walkways or steps. Cover and bury all wiring underground or conceal behind plantings and other landscape materials, with no wires, to make your outdoor space clean and safe.
Step 6: Test and Adjust Lighting
Installation is almost complete now, and it is time to check your system! Switch the lights on when you go dark to know how the design can create a presence in real lighting situations. Here you can adjust it as you want to move fixtures, change the angles, and make other adjustments to enhance the overall impact, as well as to remove unpleasant shadows and glare. When all things appear to be right, use timers or link your system to intelligent controls to regulate the timings of lights. This is not only more convenient but also facilitates improved energy efficiency as your backyard can become a sheer beauty and brilliance each night.
Best Outdoor Lighting Ideas for Different Spaces
Garden and Lawn
- Path Lights: Low-level path lights can be on the pathways and guide them.
- Spotlights: Emit light at the figures or trees or flowerbeds.
- String Lights: Make pergolas or patios have a festive feel.
- Ground Lights: Lights set into decking or stone and retractable.
Front Porch and Entryway
- The Lanterns: Light up the place with a cosy effect.
- Recessed Ceiling Lights: These provide a low-key light around the head.
- Step Lights: Enhance safety for stairs and entry steps.
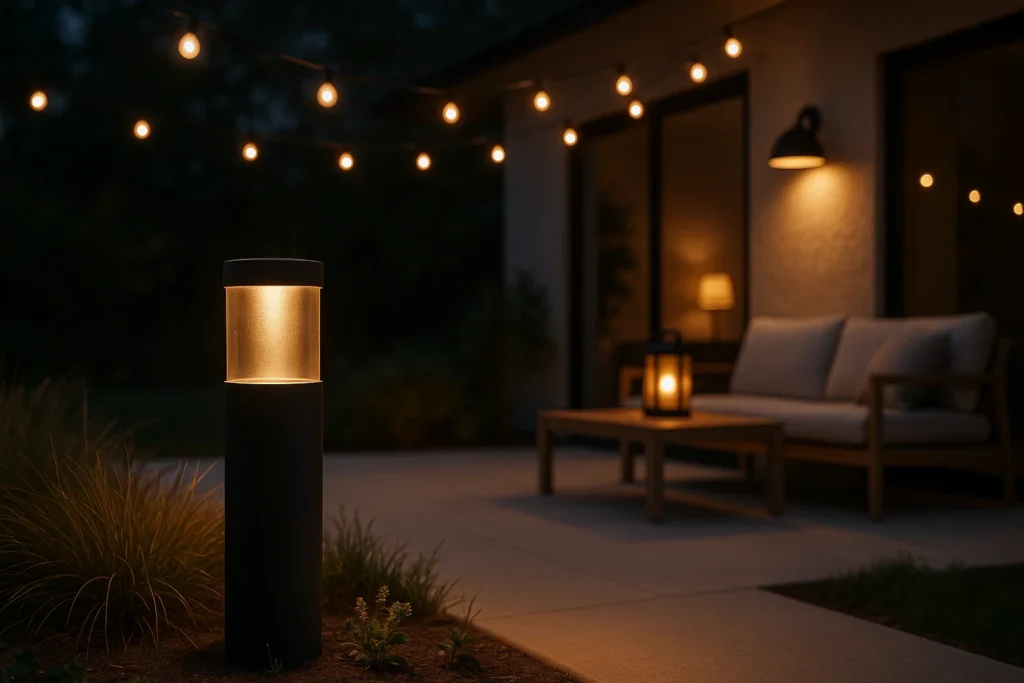
Patio and Deck
- Under-Rail LED strip: The LED strip creates a halo along railings.
- Post Cap lights: Highlight deck posts in style.
- Hanging Pendants: These are attractive lights in an outdoor eating area.
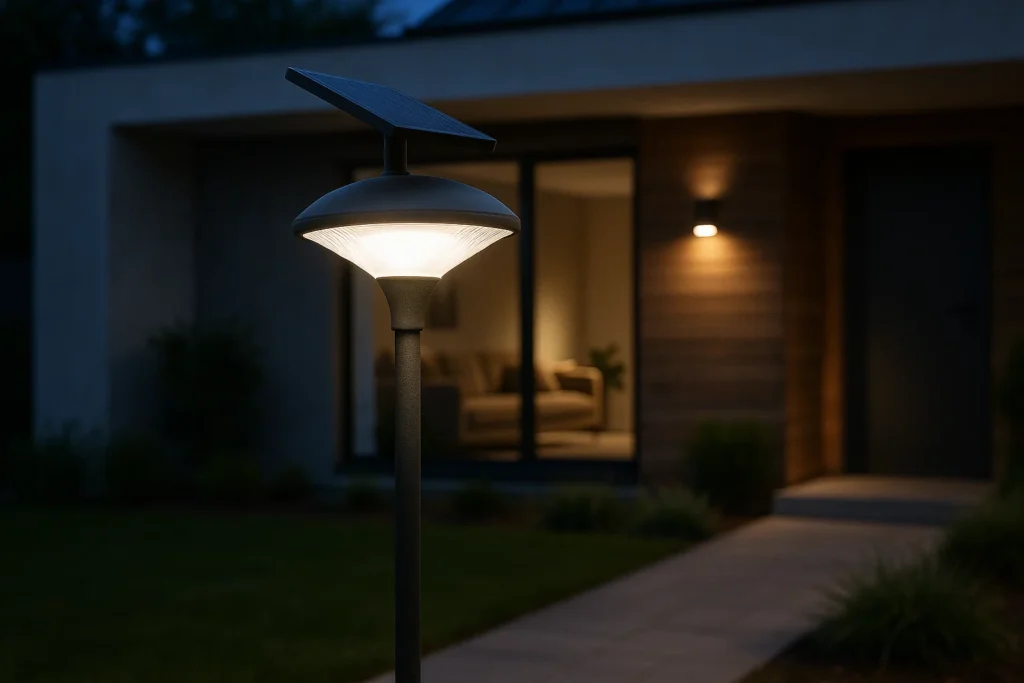
Driveways and Paths
- Bollard Lights: Mark isolated walkways in a lot of high-traffic zones.
- Solar Stake Lights: No wiring; installation is quick and simple.
- Motion Sensor Lights: Due to their security-related nature, these lights turn on when a motion sensor detects movement.
Poolside and Water Features
- Submersible LED Lights: LED lights in water or underwater in pools/fountains.
- Floating lights: Options that float on the water.
- Uplighting: Because of the dramatic colouring on the side of trees or on the water border.
Tips for Installing Landscape Lighting Like a Pro
- Start with Low Voltage: SAFE and simple to install for DIYers.
- Use LED Lamps: LED lamps are energy-efficient and long-lasting.
- Avoid overlighting: This kills the atmosphere.
- Include both Dimmers and Timers: To achieve user-friendly control.
- Pay Attention to the Direction: Aim lights downward in order to avoid creating glare.
- Wiring: Wiring should be buried in conduit or landscape features.
- Consider maintenance: Pick the type that is easy to clean and that is resistant to weathering.
Future of Outdoor Lighting: What’s Next in 2025 and Beyond
- Improvements in Smart Lighting: More AI-powered lighting systems, which change automatically depending on weather, events, and the like, and according to personal preferences.
- Wireless Power Transmission: The potential exists to eliminate wiring outdoors and provide reliable power delivery.
- Eco-Friendly Innovations: Greater assimilation of solar and energy harvesting systems.
- Increased Connectivity with Augmented Reality: Lighting experiences that can be controlled with the help of Augmented Reality devices.
- Nanotechnology in Lighting: Efficient and smaller light fixtures with a durability never seen before.
- Personalized Lighting Environments: The ability to color and alter.
Conclusion
Outdoor lighting can be a great method to improve the aesthetic and safety of your home and increase the level of its practicality. We can enhance this interesting subject by observing the latest trends and professional installation tricks, and make our interior look brighter throughout the year. Whether you need smart technology, energy-efficient LEDs, or elegant-looking lights, landscape lighting adds value and beauty to your home. To ensure high-quality installation and personal guidance, have the team of All Star Con group help you realize your vision of outdoor lighting.
FAQs
What type of outdoor lighting is best for energy efficiency?
The most efficient lights are LED and solar-powered ones, which operate longer and have reduced use of electricity.
Can I install landscape lighting myself, or should I hire a professional?
They can be installed by a DIYer, although this is only advisable when it comes to low-voltage and solar lighting. However, using the services of a professional such as All Star Construction Group fills any safety gap and facilitates the most viable setup and design.
How do I choose the right lighting color temperature?
Warm white (2700K to 3000K) is better to create a cozy and welcoming atmosphere, while cooler temperatures work better in functional and modern lighting.
Are smart outdoor lighting systems worth it?
Yes, smart systems are convenient, automated, and save energy by being controlled remotely via a schedule and home security.