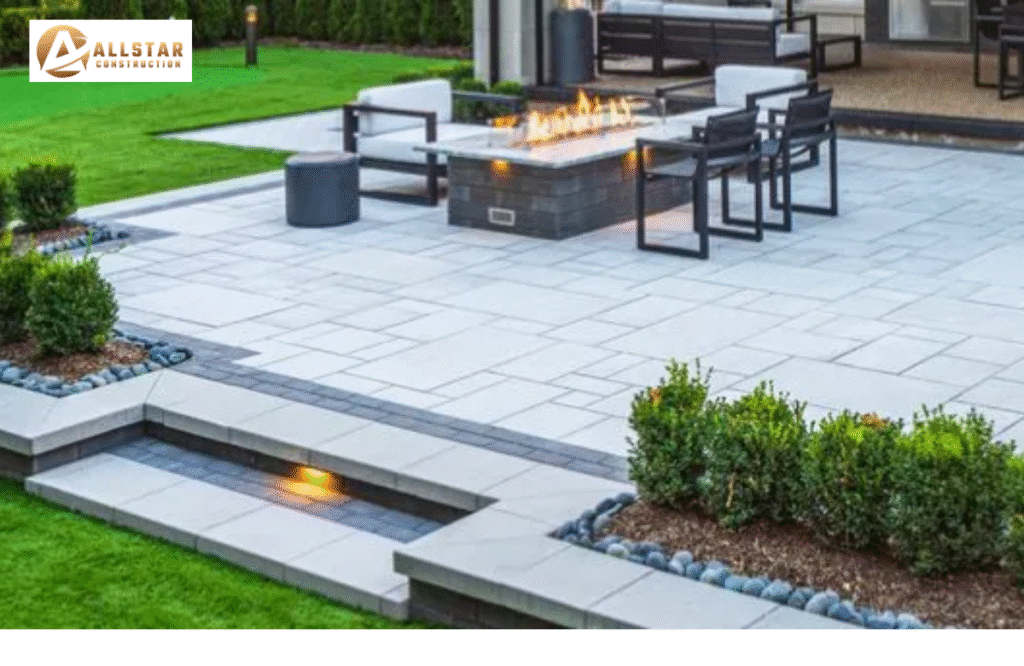
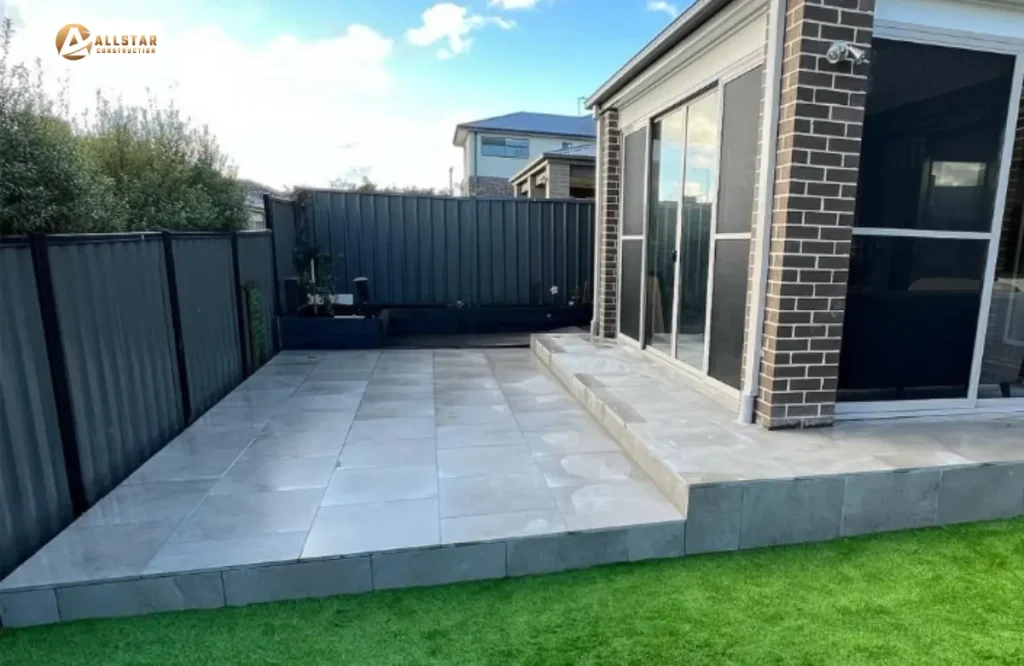
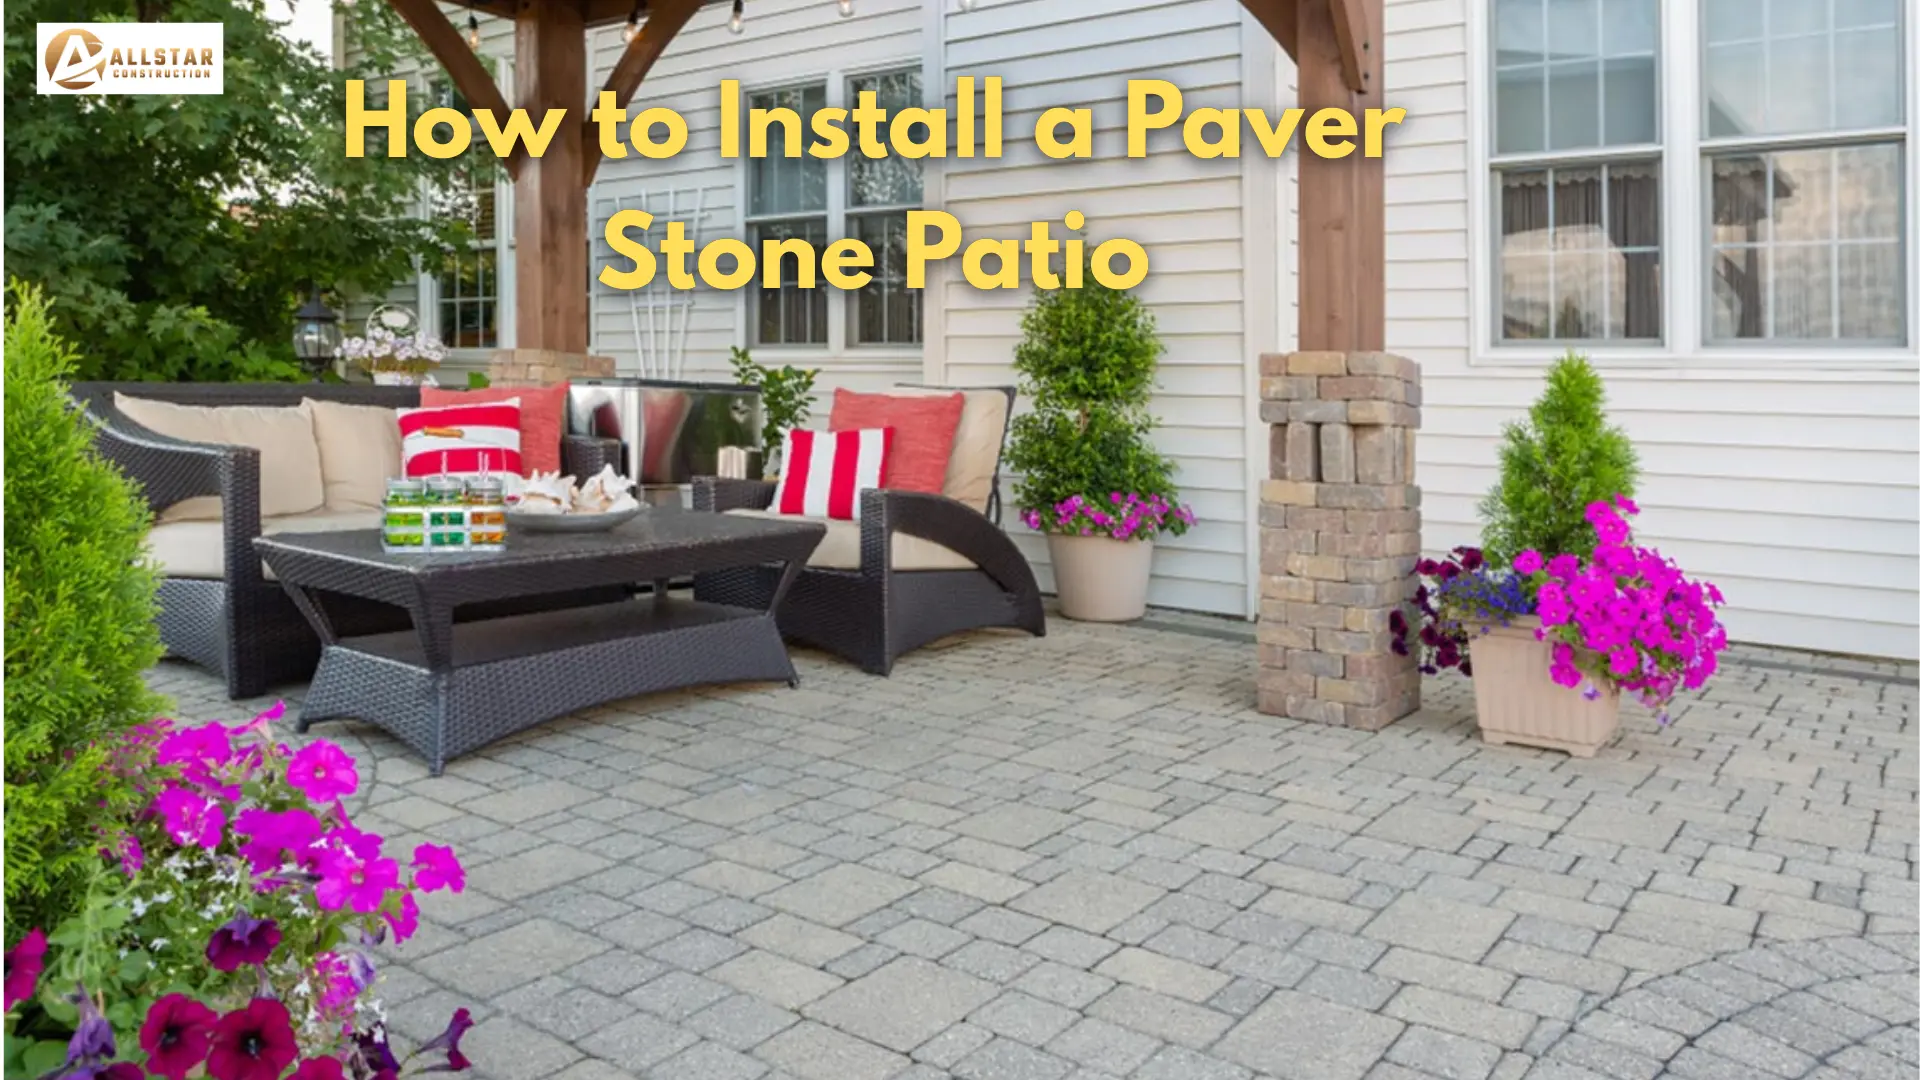
A paver stone patio is an excellent way to beautify your outside area in a very strong and beautiful manner. Are you looking to have a spot where you can rest or to have an enjoyable place to hold parties, a well installed paver patio will help transform your backyard into a useful and a beautiful extension of your house. However, the pavers should be installed in such a manner that it does not cause any problems down line, such as the uneven spots or stones moving out places. This guide will lead you through the easy steps of planning, construction, and completion of your paver patio that would make you have an attractive outdoor space that lasts for many years.
Why Choose Paver Stones for Your Patio
Paver stones are relatively popular when talking about patios. They are durable and can withstand wear and tear even in harsh weather conditions. Pavers are also highly flexible in terms of design and come in an array of shapes, sizes and colors giving the homeowner the option to create unique and beautiful designs. Further, paver stone patios services are low maintenance and cost-efficient in the long-term because damaged stones can be replaced easily without disrupting the full surface of the crust. In addition to the beauty and functionality, a paver stone patio will increase the value of your property making it a great investment in any outdoor space.
Installing Your Paver Stone Patio: A Step-by-Step Guide
A paver stone patio that is attractively designed and installed is another accomplished DIY undertaking that brings both flair, functionality and value to the outside yard. You can develop a year-long lasting (and pretty) patio with careful planning and attention to details ensure it keeps holding up.
Planning and Preparation
Begin with figuring out the size, shape, and whereabouts of your patio. Draw bottom areas with stakes and paint and with the help of marking out the perimeter set the area about 1 inch in 8 feet angle so that it drains out efficiently. Prepare all the equipment and tools you will require such as paver stones, base materials, sand, edging, compacting and cutting equipment.
Site Excavation
Clean out grass and soil until you reach the depth of your bottom layers and rocks–usually 6 or 8 inches. Keep the gradient and sweep the ground, clearing and level the ground with a shovel and a rake. This concrete setting will be able to prevent the falling or unequal surfaces in the future.

Installing the Base Layer
Smooth a layer of 4 inch of crushed gravel to cover the excavation reasonably. Smash it up to a solid and a hard surface using a plate compactor. Wet the bottom slightly with water so that it lays firmly.
Adding the Sand Layer
Lay two lengths of conduit over the space to act as fretting. Over the gravel amounting to 1 inch of coarse sand and flatten it with 2×4 board dragged over the conduits. Take out the conduits, and fill up any gaps with more sand.
Laying the Paver Stones
Start setting the pave stones at a corner or beginning with an edge, and put one stone in one position, straight down into the sand–no dragging or sliding. installation Keep pavers pressed together to look clean. Using safety equipment, cut pavers to requirements using a masonry saw.
Securing the Patio Edges
Install edge restraints along the perimeter of the patio to keep pavers together and prevent their movements over the time as guides.
Filling the Joints
Push sand, consisting of polymer, into the partnerships of pavers. Spray a little water, which helps make the sand active, binding the stones together so that the weeds can not get in.
Final Touches and Maintenance
Rake the sand off and wash down the patio. Adjust any uneven pavers. Keep your patio tidy and clean with frequent sweeping, replenishing joint sand and sealing paver every few years to be safe and last longer.
Mistakes to Avoid While Installing a Paver Stone Patio
Paver stone patio construction can significantly improve the appearance and useability of your outdoor Living area, though all mistakes, even minor ones, can be costly to rectify and disillusioning. It is important to know what traps to avoid so that you can have a lasting and gorgeous patio.
- Not Creating a Proper Slope
Another typical oversight is the installation of a patio with the wrong or incorrect slope. Ordinary water can stagnate on the patio surface, or on or surrounding your foundation, leading to drainage problems, and possible damage in the long term, without very slight inclination of your home (in the order of 1/4 inch per foot).
- Using Dirt Instead of Gravel for the Base
Some attempt to lay dirt as the base, but it will pack too firmly and may move, the pavers will sink or not be even. The base must always be a crushed stone or gravel to be stable and drain well.
- Compacting the Sand Layer
The sand is intended to be spread out (screeded), rather than to be compacted. Compression on sand can make the manipulation of pavers to be too tricky and create uneven surfaces. Make the sand layer smooth and level and then lay pavers.
- Skipping Edge Restraints
The absence of a proper installation of Gilded edging will make the pavers on the edges of the patio increase and drift eventually. Correct edge restraints hold back the patio together and hold the shape.

- Incorrect Paver Placement
Pavers when moved around using drag or sliding, interfere with sand layer and may lead to surface imbalances. Whenever laying the pavers in position, it is always necessary to lay them flat on the sand to maintain the base intact and even.
- Skipping Sealing
Failure to seal pavers may result in staining, cannabis growth in the interlocking joints and early corrosion. Sealing covers the patio and helps to maintain the appearance.
- Choosing the Wrong Pavers for Your Project
Various materials of pavement fit in various applications and settings. Heavy-duty paver is preferable to driveways, and slightly softer ones can work on pool deck or patios. The selection of wrong pavers will short-cut the performance and life of your patio.
How much a paver stones patio cost to install
| Patio Size (feet) | Average Installation Cost (USD) |
| 6 x 9 | $500 – $950 |
| 10 x 10 | $950 – $1,700 |
| 10 x 20 | $1,900 – $3,400 |
| 12 x 12 | $1,400 – $2,500 |
| 12 x 24 | $2,700 – $4,900 |
| 15 x 15 | $2,200 – $3,900 |
| 20 x 20 | $3,800 – $6,800 |
| 24 x 24 | $5,500 – $9,800 |
| 30 x 30 | $8,600 – $15,000 |
- Installed cost per square foot is $10 to $24 based on the complexity of the material and design.
- The range of labor costs is usually $6 to $11 square foot.
- Material costs normally cost between $4 to $6 per ft.
- 10-20% percent of extra material is suggested as the number to include in case of cuts and waste.
Professional vs. DIY: Which one to make the right choice
Most homeowners are advised to hire a professional to install a paver stone patio, particularly when it is a complicated task, with regard to the designs, and grading or drainage system.
Experts also bring knowledge and skills that are important in ensuring the appropriate preparation of the site as well as proper leveling, and installation that is safe enough to make the patio long-lasting. They can also avail themselves of special tools and quality materials, which minimizes the chance of making an expensive error.
Whereas the cost of labor can be reduced by DIY installation, it is very time consuming, laborious and demands a lot of skills that may span several weekends and entails physical activity. Errors during slope or base planning may result in pooling of water, moving paver stones, or premature failure and might cost more to solve this mistake than employing professionals initially.
Furthermore, quality installation can be provided with warranties and improved quality assurance by the professionals. Accordingly, getting professionals is a good investment for limited budget, time-saving, polished appearance, and long-lasting results. However, we suggest you to rely on the All Star Con Group experts. Get custom paver designs that are perfectly tailored to your property and style.
Conclusion
Paver stone patio is an incredible solution to add style, functionality and value to your outdoor environment. Although DIY solutions may be effective with more experienced and patient homeowners, a professional can offer some degree of protection, assure proper geographic integrity and salt in the long-term, may save time and money ultimately. Beautiful patio means a proper plan and preparation; proper installation techniques are really required in this process to ensure there are no problems such as shifting or pooling water. While choosing DIY or professional, a paver stone patio could really make your house enjoyable and pretty to look at.
FAQs
Depending on size and complexity process of installation take several days
to a week on average residential patios installations.
This would require a well-draining but very small based base of gravel supported by leveling sand surface.
Simple projects with smaller scale can be undertaken as DIY in case you have the tools and skills necessary, but the more complex or large installations are done by the professionals.
The prices vary between 10 and 24 per square foot on average according to materials, workforce, and planning specifications.
Polymeric sand creates a layer in the joints and cementing the patio prevents growing weeds and the influx of insects.


