Outdoor lighting plays a vital role in making your home more entertaining and secure. After installing the most effective landscape lighting system, it is always frustrating to realize that something is not operating in the way it should. The best part is that the majority of outdoor lighting issues are simple to identify and fix yourself. However, some problems require professional expertise to be secure and well-repaired. In our guide, we will help you to be aware of what are some of the typical problems of outdoor lighting that you can easily solve and when to call a professional. Continue reading to learn how you can ensure that your outdoor lights remain bright throughout the year.
Common Outdoor Lighting Problems You Can Fix Yourself
Most of the outdoor lighting issues are easy repairs that need just simple tools and some time. These are some of the common DIY troubleshooting steps before suspecting that there is a serious electrical problem. Availability of the correct tools makes troubleshooting and repairs easy. In the majority of cases, it will be necessary to:
- Voltage tester or multimeter
- Screwdrivers (flathead and Phillips)
- Strippers and wire cutters
- Wire connectors and wire nuts that are waterproof
- Dielectric grease sealing connections
- Spare bulbs and fuses
- Fresh towels, soft detergents, and a tiny wire brush
1. Burned-Out or Faulty Bulbs
Symptoms: Lights flicker, fail to turn on or are dim.
Fix: The outdoor bulbs may burn out or become dirty. Whenever changing bulbs, turn off the power. Install bulbs that have the same voltage and wattage as your fixture. In the case of halogen bulbs, you should not touch the glass with your bare hands; oils reduce their life. An upgrade to LEDs is worth considering as it is durable and energy-efficient.
2. Dirty Fixtures or Covers
Symptoms: Dark or uneven light.
Fix: Fixtures can be dusty, dirty, and full of insect remains, and this decreases brightness. Periodically clean fixture covers and lenses with a soft cloth and mild soap. When the grime or corrosion is difficult to clean, apply a wire brush softly. Clean covers will enhance the quality of light and allow for detecting minor damages in time.
3. Loose or Corroded Wiring Connections
Symptoms: Occasional lighting or lights on and off.
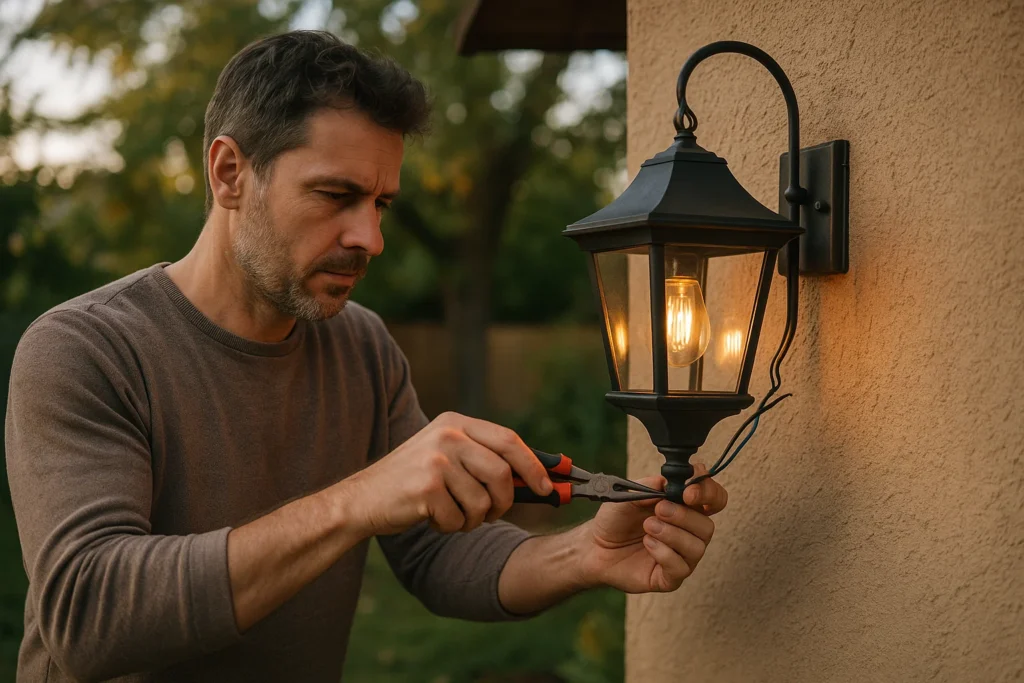
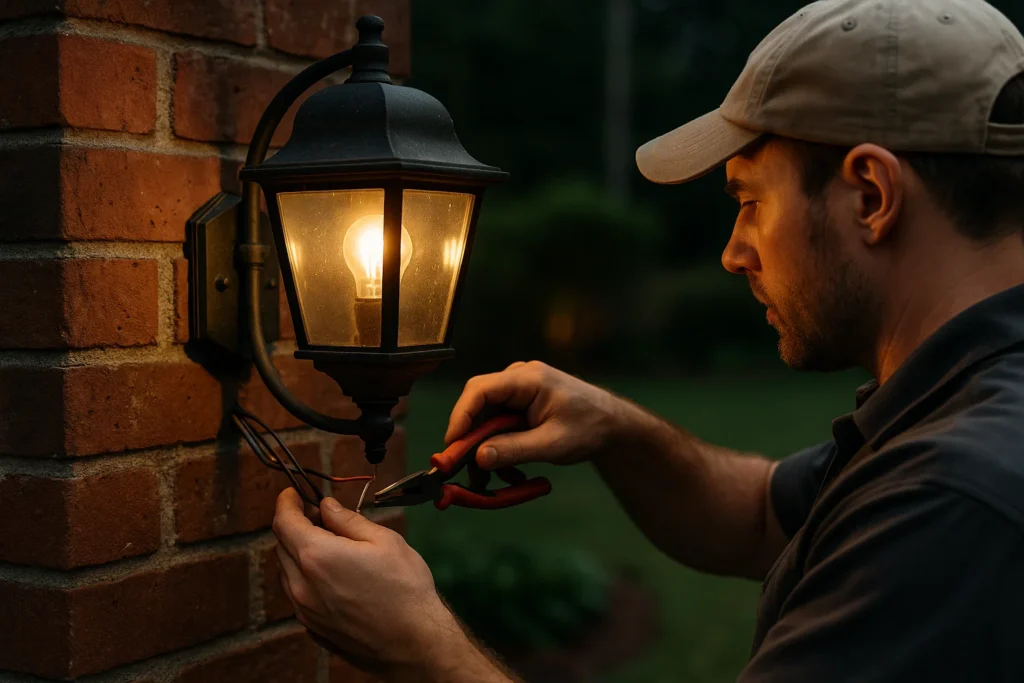
Fix: Connections can be loosened or corroded by power surges, moisture, or animals. Turn off the power, and look at the wiring within the fixture or junction box. Secure wire nuts and, where corrosion is evident, clean connectors using electric parts cleaner. Splices should be made waterproof with waterproof wire connectors and dielectric grease.

4. Bad Timers or Photocells
Symptoms: Lights remaining on during the daytime or failing to light up at night.
Fix: Timers and photocells may break or become dirty. Clean photocells to clear the obstruction of light sensors. Change or reset batteries in timers. In case of failure of resetting, these units can be replaced at a relatively low cost and easily.
5. Blown Fuses or Tripped Breakers
Indicators: All lights on a circuit fail suddenly.
Fix: Look at your electrical panel to see tripped breakers or fuses and reset them. Multiple tripping of breakers might be a sign of an overload or a short circuit and should be attended to by a professional.
6. Damaged or Broken Globes or Fixtures
Symptoms: Physical damage, water penetration or broken glass.
Fix: Broken globes or cracks in covers should be replaced with the right size. Rusted metal fixtures should be repainted with rust-resistant paint to increase their life.
How To Repair Outdoor Light Problems At Home
Step 1: Switch Off Power
The main electrical panel should always be used to disconnect the power to the outdoor lighting circuit. Check that there is no power flowing by using a voltage tester before handling wires or openings.
Step 2: Check Light Bulbs and Light Fixtures
Take out bulbs and check them for burning or damage. Wash the fixture covers with mild soap and water. Use appropriate replacements for bulbs.
Step 3: Test Wiring Connections
Check wiring integrity by removing fixture covers or junction boxes. Secure any loose wires and change any corroded connectors with waterproof wire nuts and dielectric grease to guard against moisture.
Step 4: Replace Timers or Photocells
Wash photocells and adjust clocks. Change in case of failure of lights to respond.
Step 5: Fixtures Cleaning and Sealing
Clean housing with a wire brush to remove rust and dirt. Seal edges of fixtures with clear RTV sealant to keep water out.
Step 6: Power Restoration and Lights Testing
Switch the circuit breaker to the on position and check the lighting system to see whether repairs were successful.
When To Seek Professional Outdoor Lighting Repair

Although most repairs can be done on your own, some issues warn you that you need to contact a licensed electrician or outdoor lighting specialist:
1. Constant Electricity Problems or Circuit Problems
When resetting breakers does not help, or you think there may be damage to wiring in walls, conduits, or underground, do not attempt to do it yourself because you can get electrocuted or cause a fire. Safe diagnosis and rewiring are the expertise and tools of the professionals.
2. Multiplex Landscape or Hardscape Lighting Systems
Multizone, transformer, sensor, or smart-control integrated large systems may need professional support to be repaired or troubleshot.
3. Buried or Exposed Power Lines
Diagnosis and repair of damage in underground cables requires special equipment to prevent interference with other utilities and to make water-resistant splices.
4. Replacement of Fixtures in High or Inaccessible Places
Roof-mounted, long pole-mounted or fragile fixtures can be unsafe to access with ladders or special access gear.
5. Advancing to the Advanced Smart Outdoor Lighting Systems
Professional installation guarantees compatibility with your home automation systems and best performance.
Conclusion:
Outdoor lighting repair may begin with the easiest inspections and repairs you can do yourself, including changing out bulbs, cleaning equipment, reconnecting loose plugs, and resetting timers. Such DIY tips will be cost-effective and will prolong the lifespan of your lighting system.
Moreover, electrical problems such as wiring, complex structures, and safety hazards are best addressed by professional outdoor light repair services. But be aware of when to fix it yourself, and when to call a professional, guarantees that your outdoor lighting remains secure, utilitarian, and gorgeous throughout the year.
Outdoor Lights Out? Don’t Stay in the Dark – Call All Star Construction Group Today, We’ll Fix Them Fast!
FAQs
It is frequently caused by loose wires, burnt bulbs, corroded timers/photocells, or in some cases, corrosion. Check and clean, and replace bulbs or controls.
Use waterproof wire connectors with dielectric grease on splices. Apply RTV silicone to the edges of the seal fixture housing to seal against the ingress of water.
You should hire a professional in case of damaged wiring, ongoing electrical problems, complicated systems, unsafe work, or anything beyond your skill level.
Clean and inspect the fixtures twice a year or more in harsh climates. Test the wiring once a year and when necessary replace bulbs.
Yes, it can fail due to debris or electrical surges. Take care of the sensors by cleaning, resetting the timers, and changing bad units.
Yes, LEDs are energy efficient, durable, and reduce maintenance needs, making them an excellent outdoor lighting solution.


